If you are opening a second Google Business Profile, congratulations, this means your business is growing.
Setting up a second Google Business Profile is nearly identical to how you would set up your first location. In the step-by-step process below, I outline how to do this. There are critical requirements you must follow when opening multiple locations. I want to hit on the requirements first and foremost so you know what needs to be done to stay in the good graces of Google.
Requirements & Recommendations For Second Google Business Profile
SHARING CATEGORY
- The locations of a business must share the one category that best represents the business.
- Example: For The Media Captain, our primary category is “Marketing Agency.” If we were to open a second location in Cleveland, we couldn’t have our primary category be “Web Design.” Since the primary category is one of Google’s primary ranking factors, it’s assumed that more fake Business Profiles would be created across multiple locations if they didn’t implement the same category rule.
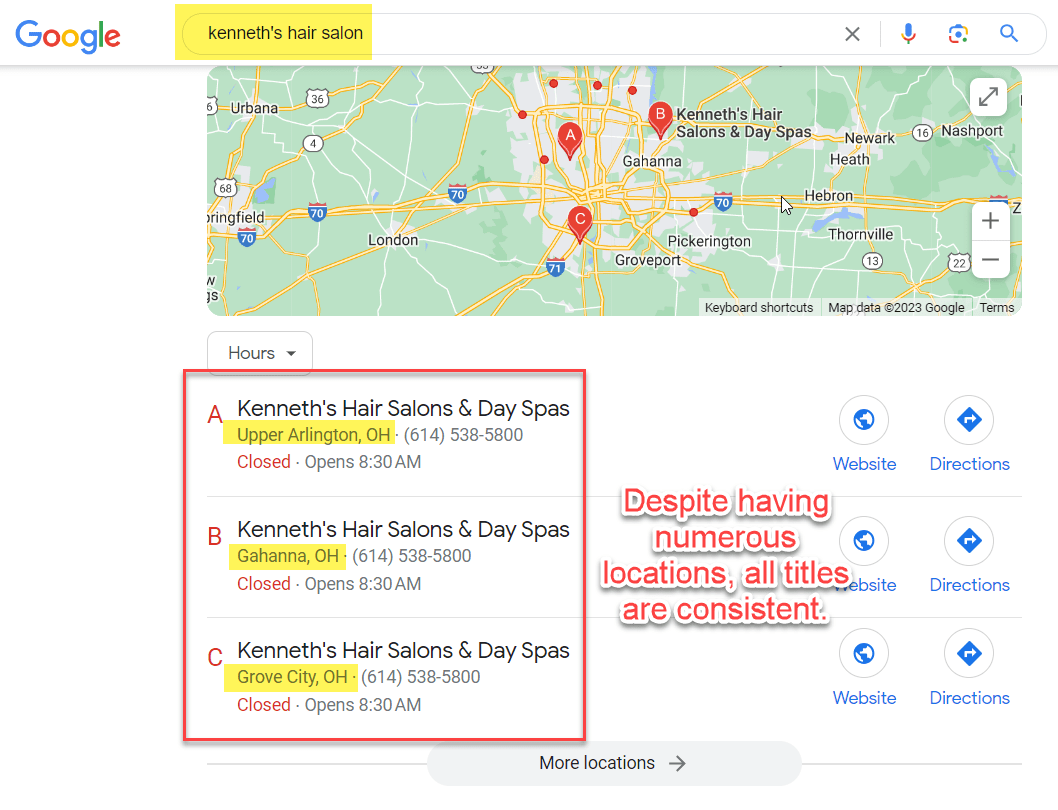
SAME NAME
- All locations within the same country must have the same name for all locations.
- The business name is another one of the most important Google Business Profile ranking factors, which is why many keyword stuff the title. To avoid keyword stuffing, Google wants businesses to maintain the same name.
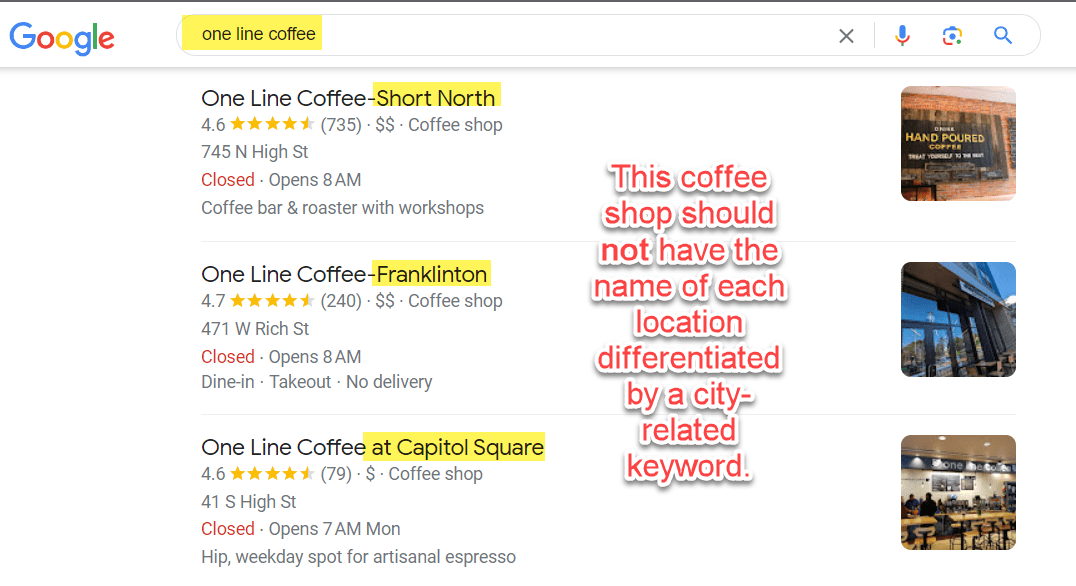
Example: In the first example, you can see that Kenneth’s has multiple locations throughout Columbus, Ohio. The name of their business is consistent throughout. In the second example, One Line Coffee has different names for each location based on their location. This is against Google’s guidelines and is not recommended.
EXAMPLE 1:
EXAMPLE 2:
UNIQUE PHONE NUMBER
- Each location should have a unique phone number. Google’s guidelines state: “Use a local phone number instead of a central call center helpline number whenever possible.
- In the example above, Kenneth’s uses one phone number for all locations, and they are in good standing with Google Business Profile. According to Local Visibility, it may be more difficult to verify one or more of your pages when using one centralized number.
UNIQUE PAGES ON YOUR WEBSITE FOR EACH LOCATION
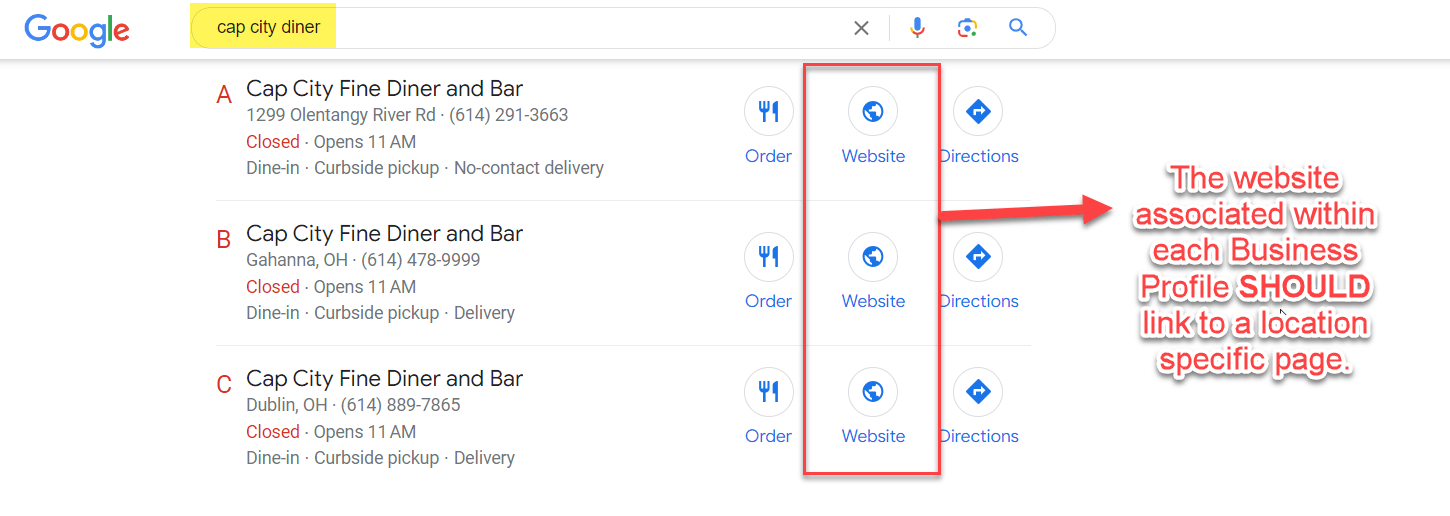
- When you have multiple GBP locations, you don’t want to link to the homepage from each location. It is recommended you link to a location-specific page. The Google Business Profile website URL is a major ranking factor. When Google sees unique location-specific content on your webpage that is associated with Google Business Profile URL, your ranking can improve.
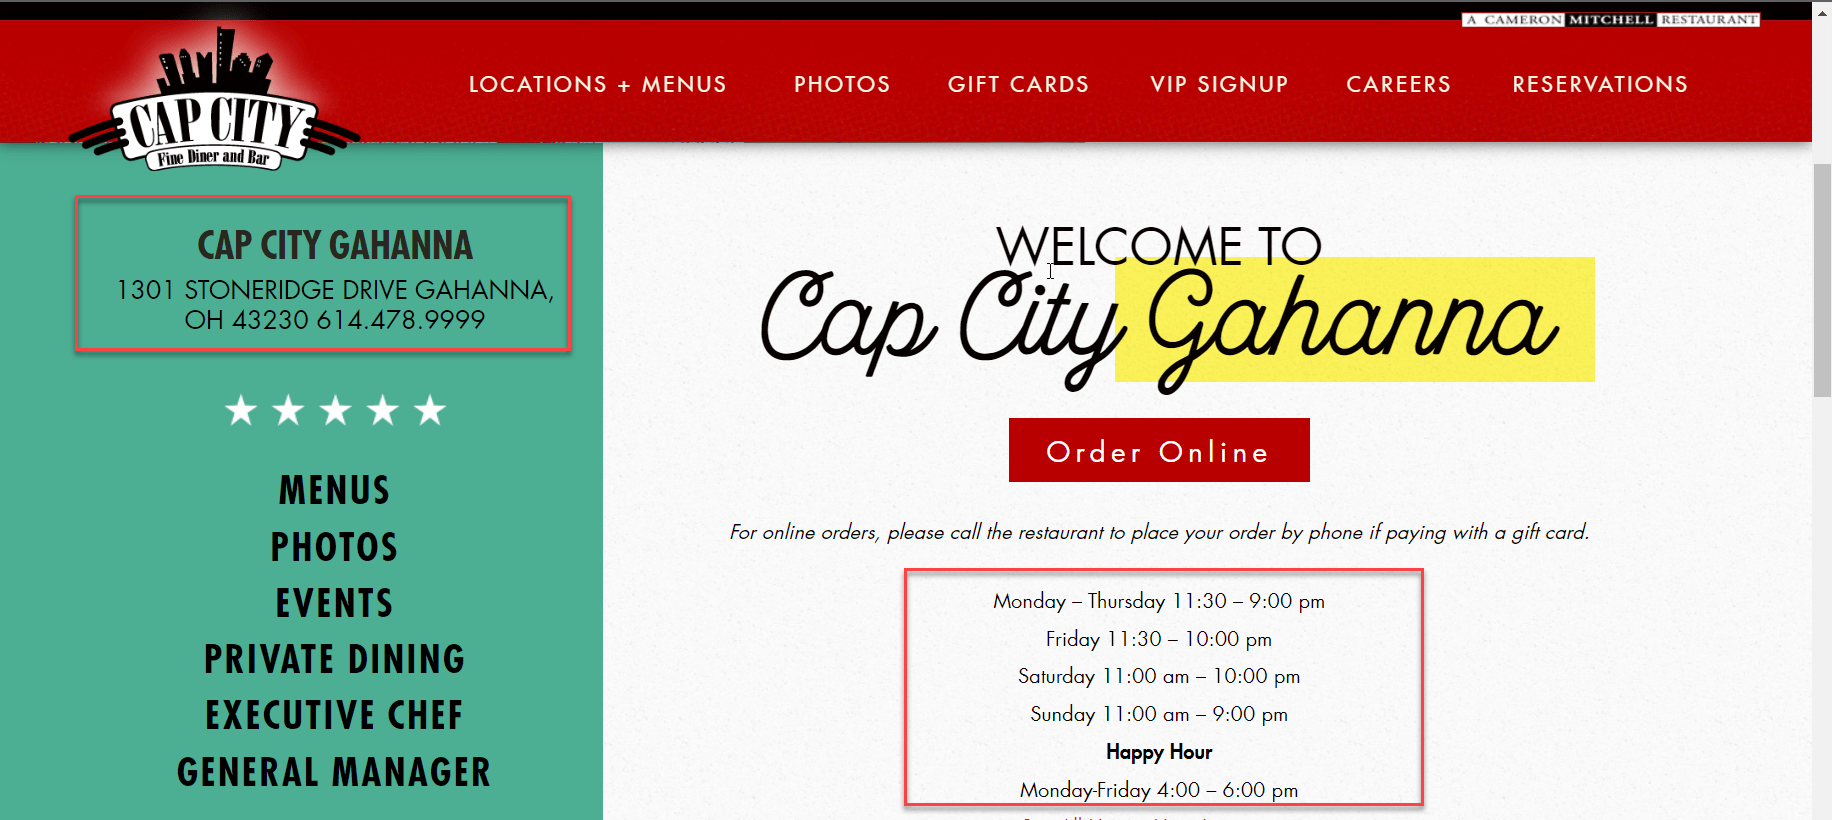
EXAMPLE OF A DINER THAT DOES A GOOD JOB OF LINKING TO LOCATION-SPECIFIC PAGES
 UNIQUE LOCATION-SPECIFIC PAGE
SHOW SIGNAGE WHEN YOU DON’T HAVE A STOREFRONT
- Many businesses, such as lawyers, therapists, and accountants, won’t have a storefront. They may not have outdoor signage at all, especially if located in an office setting with many other businesses. It is recommended that you showcase signage from your floor or lobby. You should take a picture of this signage and add the photos to your Google Business Profile.
Example: Below is an example that I found via SignWorks that would do a good job proving to Google that you have a legitimate presence.

Make Sure You Can Do a Video Walkthrough
Google is doing away with postcard verification and moving towards video verification of Google Business Profiles. Before opening up a second location, make sure you have a representative from your company who can do a walk-through of your location on video. They will ask for things like signage, showing the address, showcasing work being performed, and more (learn what’s needed to get verified via video).
Step-By-Step Instructions For Opening A Second Google Business Profile
You will want to treat the second Google My Business page separately. This means you should create a new Google My Business page for the new location, giving your business two locations. You will notice the steps to set-up up your second GMB page are practically identical to opening up your first page. There are certain steps aspects that confuses businesses opening up their second location, which is why I added corresponding notes underneath each step.
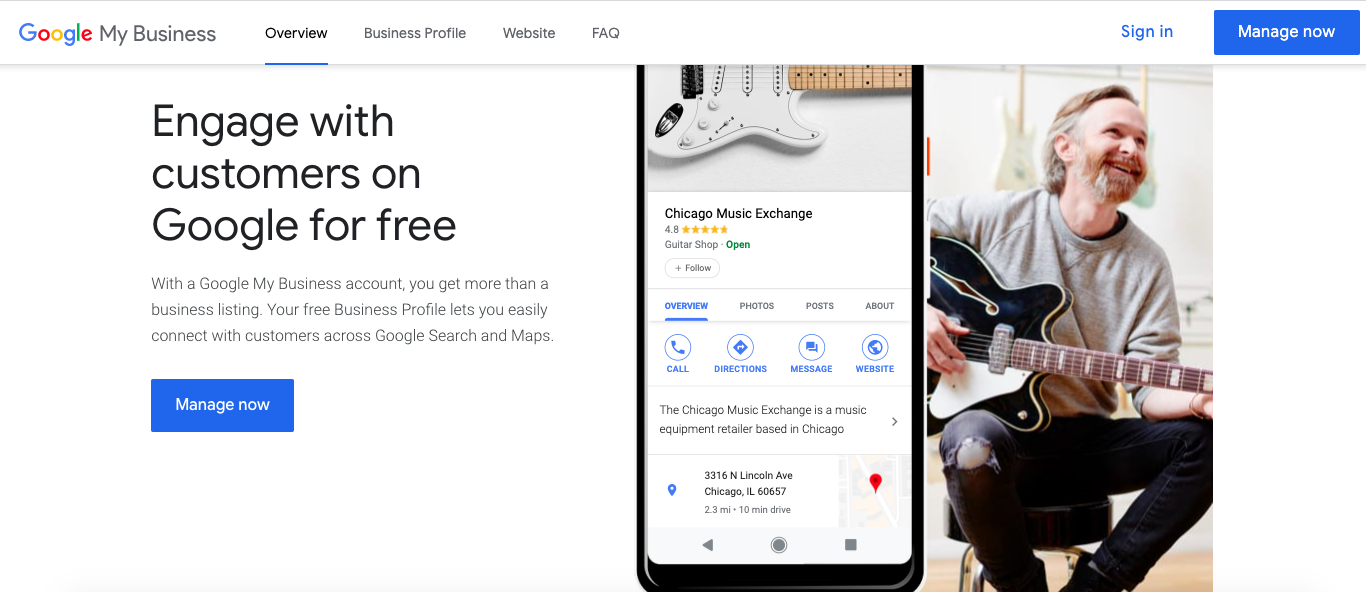
Step 1: Go to – https://business.google.com/
- Ensure you’re logged in with the Gmail account associated with your original Google My Business page. This will improve the organization as you’ll want both businesses underneath the same account.
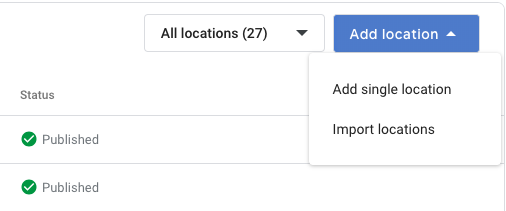
Step 2: “Add Location” and then “Add a Single Location”
- Once logged into the Google My Business account associated with your first location within the dashboard, you should see “Add Location” and “Add Single Location.” Many people get confused when it says “Add a Single Location” since they are opening up a second location. As I previously mentioned, the second Google My Business page should be treated as a separate entity, so you want to add it as a single location to move forward.
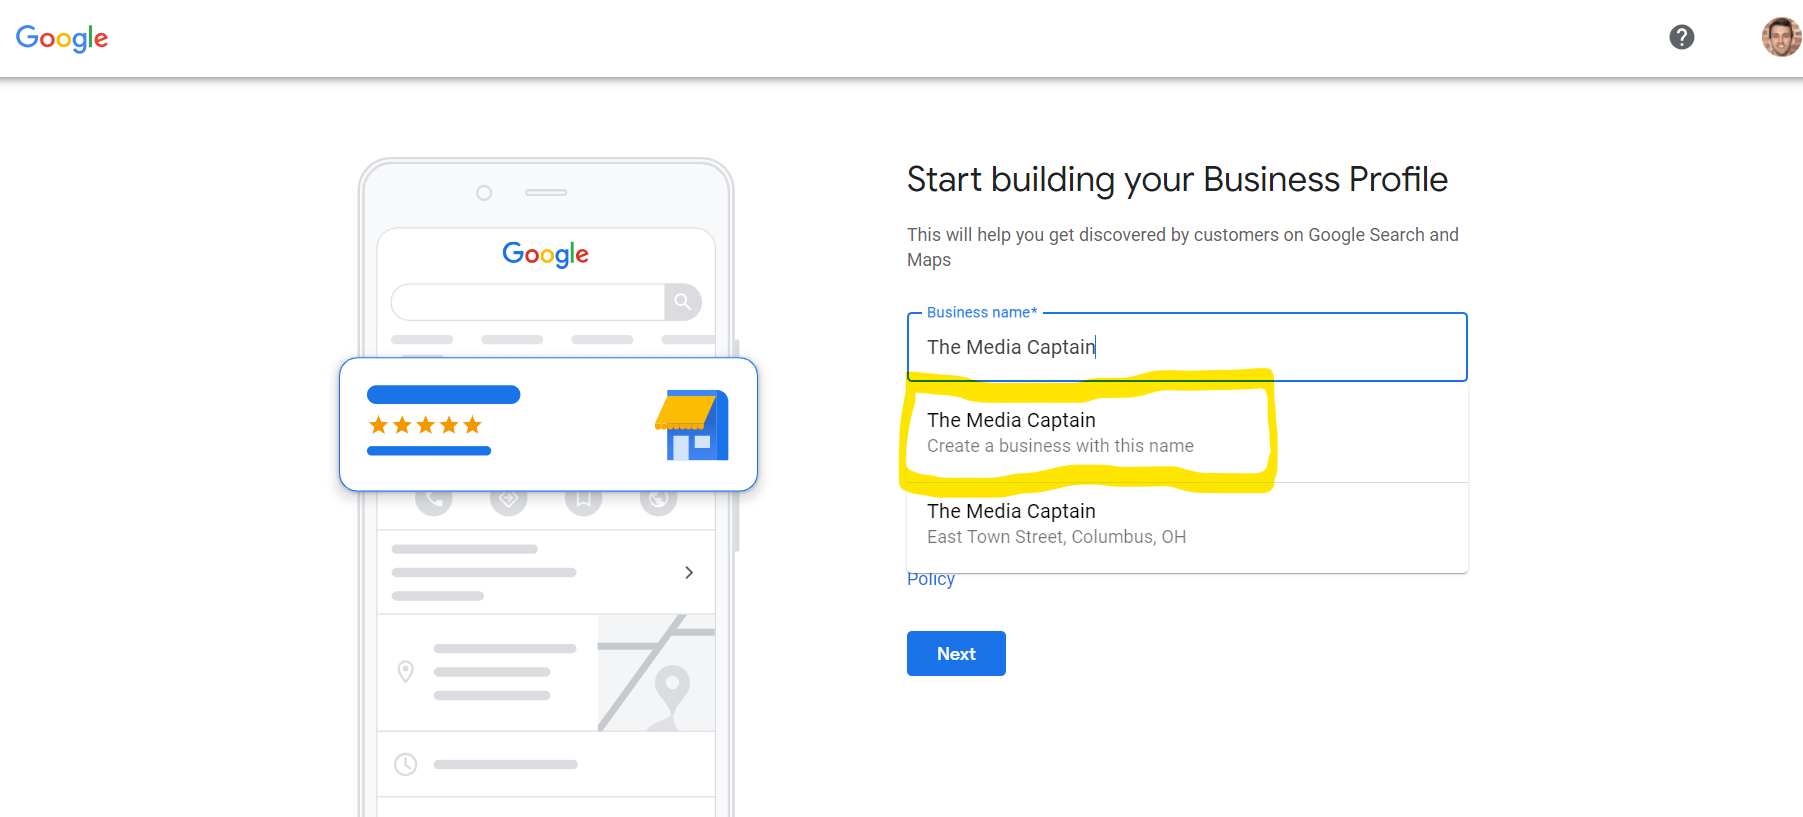
Step 3: Business Name
- Start typing in the name of your business. It should show you the original location. There will now be a second option with your business name that says, “Create a Business with this Name.” You will want to select this.
Step 4: Business Category
- Make sure to select the same business category as your first Google Business Profile. It is against Google’s guidelines to have a new category for a second Business Profile.

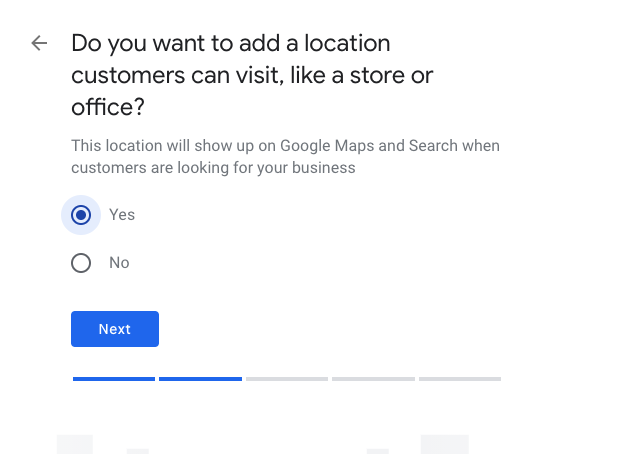
Step 5: Can customers or clients visit your location?
- Can customers or clients visit your location? If you have an office where meetings can be conducted with customers/clients, you will want to select yes. If you work out of your home and are a service business that services customers at their location, you would select no.
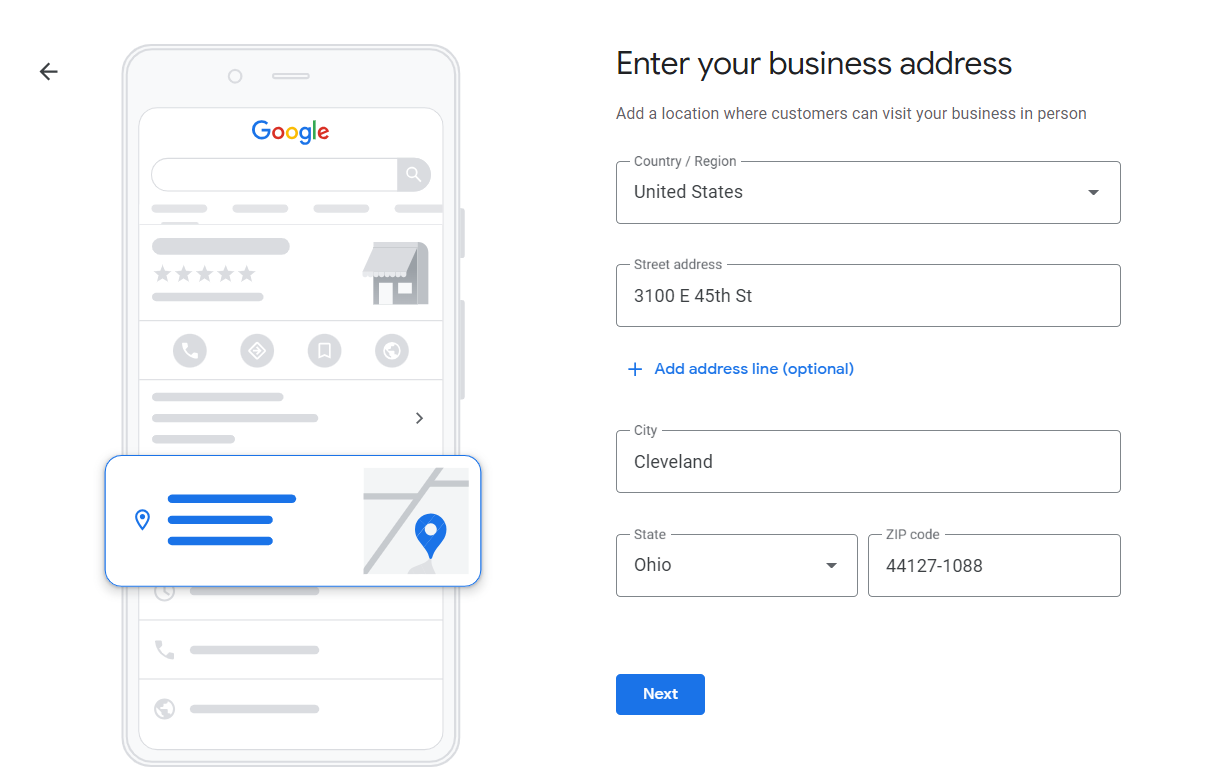
Step 6: Address
- Input the new business address of your second location, which includes:
- Country/Region
- Street Address
- Add Address Line (Optional)
- This is needed when you have a Suite number
- City
- State
- Zip Code
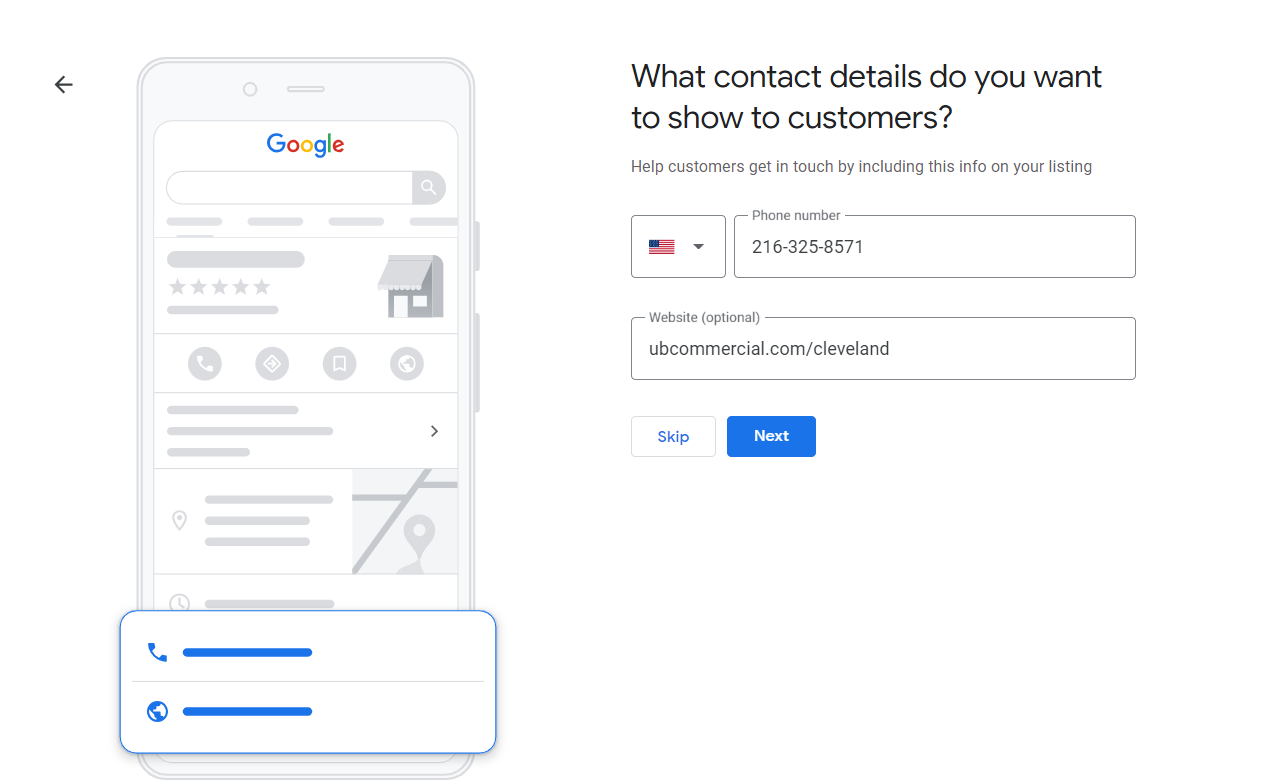
 Step 7: Contact Information
- Enter your phone number and website URL
- Remember, the phone number should be unique for the new location. The website URL should link to a location page versus the homepage.
- Once you click “Next” you should receive a verification message.
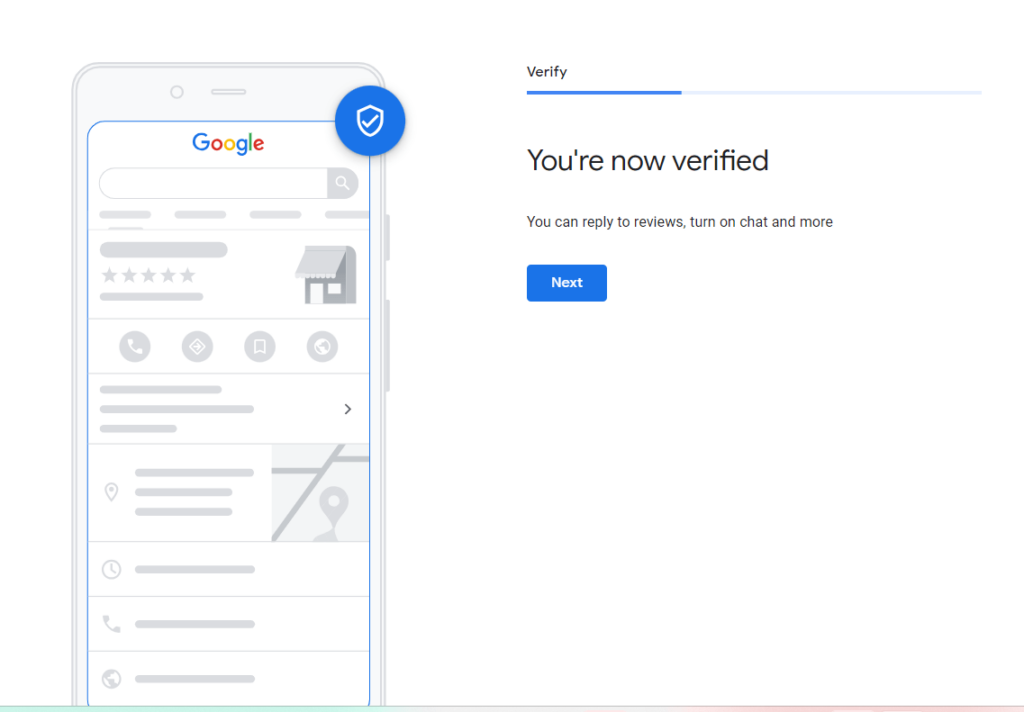
 Step 8: Verified
- By following the steps above, you should have received a message that your new Business Profile location is verified.
- Despite receiving the verification message, your Business Profile will go into “Pending” while Google evaluates your status.
- There’s a likelihood your Business Profile gets approved without any further action.
- There’s also a chance you will need to go through video verification.
Buffer Period

- Before opening your second Business Profile, give yourself a couple of weeks to get the page approved.
- If your GBP doesn’t get approved right away, it can take some time to get approved via video verification or other methods.
- If your page isn’t approved before opening, this can lead to confusion among customers when they search for your business on Google/Maps.
If you need any help with local SEO or have any questions pertaining to your Google Business Profile, feel free to contact The Media Captain!